您所在的位置:首页 - PHP - 正文PHP
PHP7.4.0 源码编译安装
 萧何-Vincent
2021-11-09
【PHP】
1734人已围观
萧何-Vincent
2021-11-09
【PHP】
1734人已围观
1. 下载安装编译工具
yum groupinstall 'Development Tools'
2.安装依赖包
yum install libxml2 libxml2-devel openssl openssl-devel bzip2 bzip2-devel libcurl libcurl-devel libjpeg libjpeg-devel libpng libpng-devel freetype freetype-devel gmp gmp-devel libmcrypt libmcrypt-devel readline readline-devel libxslt libxslt-devel zlib zlib-devel glibc glibc-devel glib2 glib2-devel ncurses curl gdbm-devel db4-devel libXpm-devel libX11-devel gd-devel gmp-devel expat-devel xmlrpc-c xmlrpc-c-devel libicu-devel libmcrypt-devel libmemcached-devel
3. 下载并解压PHP7.4.0
wget http://mirrors.sohu.com/php/php-7.4.0.tar.gz

# 解压 tar -zxvf php-7.4.0.tar.gz

cd php-7.4.0
4. 新增用户和用户组
groupadd www

useradd -g www www
5. 生成编译文件
./configure --prefix=/usr/local/php7 --with-config-file-path=/usr/local/php7/etc --with-fpm-user=www --with-fpm-group=www --with-curl --with-freetype-dir --with-gd --with-gettext --with-iconv-dir --with-kerberos --with-libdir=lib64 --with-libxml-dir --with-mysqli --with-openssl --with-pcre-regex --with-pdo-mysql --with-pdo-sqlite --with-pear --with-png-dir --with-jpeg-dir --with-xmlrpc --with-xsl --with-zlib --with-bz2 --with-mhash --enable-fpm --enable-bcmath --enable-libxml --enable-inline-optimization --enable-mbregex --enable-mbstring --enable-opcache --enable-pcntl --enable-shmop --enable-soap --enable-sockets --enable-sysvsem --enable-sysvshm --enable-xml --enable-zip --enable-fpm
6. 编译安装make && make install -j 2
-j 指定执行的进程数
7.安装成功之后,设置环境变量
vim /etc/profile

添加
PATH=$PATH:/usr/lcoal/php74/bin
export PATH

立即生效
source  /etc/profile
8. 测试查看PHP版本
php -v


创建php-fpm软链接
ln -s /usr/local/php74/sbin/php-fpm  /usr/local/php74/bin/php-fpm

php-fpm -v
9.配置
#将源码中的配置文件复制到PHP的配置文件中
cp php.ini-production /usr/local/php74/etc/php.ini


#将PHP目录中的php-fpm配置文件进行修改
cp php-fpm.conf.default php-fpm.conf
cp php-fpm.d/www.conf.default php-fpm.d/
10.添加php-fpm启动项
#将PHP源码中的php-fpm启动文件加入到服务自启动文件中
cp sapi/fpm/init.d.php-fpm /etc/init.d/php-fpm

#赋予执行权限
chmod +x /etc/init.d/php-fpm

#启动php-fpm
/etc/init.d/php-fpm  start
11.php-fpm服务化
centos7 已经使用systemctl来进行服务的管理,这里我们也使用systemctl来对php-fpm进行管理
修改php-fpm.conf文件
打开pid=/var/run/php-fpm.pid

cp sapi/fpm/php-fpm.service /usr/lib/systemd/system/php-fpm74.service

ln -s /usr/lib/systemd/system/php-fpm74.service /usr/lib/systemd/system/php-fpm.service

systemctl daemon-reload

systemctl enable php-fpm
php-fpm.service文件内容:
[Unit]
Description=The PHP FastCGI Process Manager
After=network.target

[Service]
Type=simple
PIDFile=/usr/local/php74/var/run/php-fpm.pid
ExecStart=/usr/local/php74/sbin/php-fpm --nodaemonize --fpm-config /usr/local/php74/etc/php-fpm.conf
ExecReload=/bin/kill -USR2 $MAINPID

PrivateTmp=true
[Install]
WantedBy=multi-user.target
停止之前启动的php-fpm, 使用systemctl启动php-fpm
systemctl start php-fpm.service
12.在使用的时候发现zip扩展没有安装,现在需要添加扩展
在PHP源代码包中,我的源码路径:/mnt/php-7.4.0/, 需要进去到zip扩展包中cd /mnt/php-7.4.0/ext/zip
#生成配置文件
phpize

./configure --with-php-config=/usr/local/php74/bin/php-config --with-zip

make && make install在配置文件中开启扩展即可 php.ini
常见错误:
1. error: Package requirements (sqlite3 > 3.7.4) were not met
yum install libsqlite3x-devel -y
2.error: Package requirements (oniguruma) were not met
yum install oniguruma-devel -y
3. 访问nginx无法解析PHP文件
server {
        listen       8081;
        server_name  localhost;
        index        index.html index.php;
        root         /data/www;

        access_log  /data/logs/www.access.log  main;
        error_log   /data/logs/www.error.log;
        location / {
            if (!-e $request_filename) {
                rewrite ^/(.*) /index.php last;
            }
        }

        location ~ .*\.(php|php5)$ {
            fastcgi_pass   127.0.0.1:9000;
            fastcgi_index  index.php;
            fastcgi_param  SCRIPT_FILENAME  $document_root$fastcgi_script_name;  # 这里注意需要进行修改
            include        fastcgi_params;
        }

        # deny access to .htaccess files, if Apache's document root
        # concurs with nginx's one
        #
        #location ~ /\.ht {
        #    deny  all;
        #}
    }
4. configure: error: Package requirements (libzip >= 0.11) were not met: No package 'libzip'
libzip  版本太低了
编译安装,指定PKG_CONFIG_PATH,上面报错中其实有提示信息,让我们考虑调整PKG_CONFIG_PATH环境变量。
下面是详细步骤:

 # 先卸载已有
yum remove libzip
# 然后安装
wget https://libzip.org/download/libzip-1.2.0.tar.gz
tar -zxvf libzip-1.2.0.tar.gz
cd libzip-1.2.0
./configure
make && make install

装完了之后找一下/usr/local/lib下有没有pkgconfig目录,有的话执行命令export PKG_CONFIG_PATH="/usr/local/lib/pkgconfig/"指定PKG_CONFIG_PATH。
到这里问题解决!
5. 安装扩展的时候
Cannot find autoconf. Please check your autoconf installation and the $PHP_AUTOCONF environment
安装autoconf

yum install -y autoconf
Tags: PHP
上一篇: 阿里云安装composer
下一篇: Linux源码编译安装php7.3.3
文章评论 (暂无评论,1734人围观)
站长推荐
思科、华为、H3C命令对照表
-
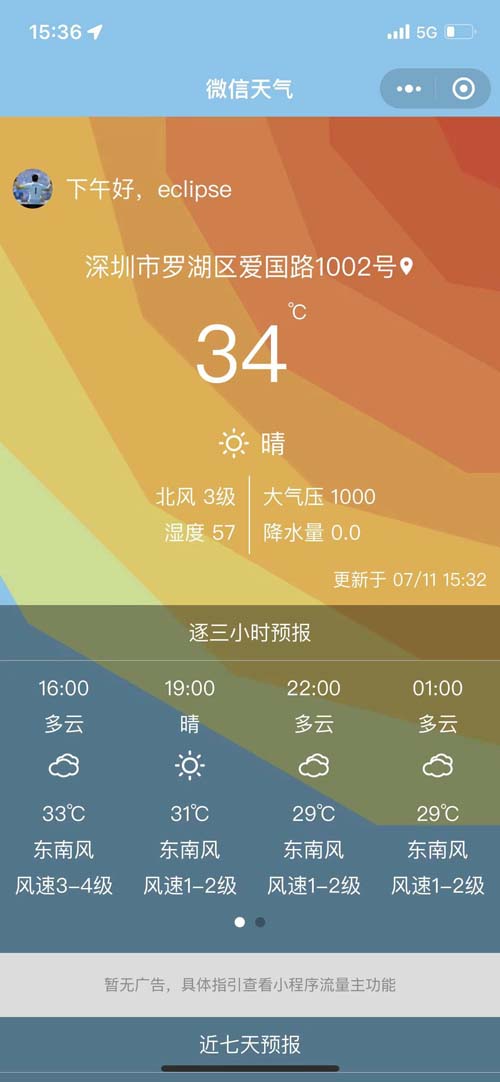
小程序实战:从入门到上线,手把手教你搭建天气预报微信小程序
PHP | 2022-07-05
-

【php算法】有一母牛,到4岁可生育,每年一头,所生均是一样的母牛...问n年后有多少头牛?
PHP | 2022-07-05
-
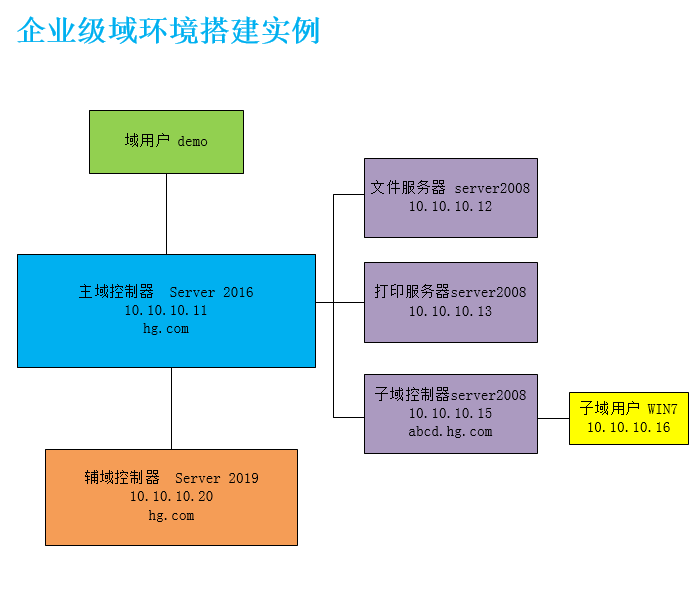
企业级域环境搭建实例——主域,辅域和子域,DNS配置实例
Network | 2022-07-01
-

MySQL + JSON = 王炸!!
DataBase | 2022-03-03
-

LVS(Linux虚拟服务)----服务器集群系统工作原理
Linux | 2022-03-01
-

元宇宙的来源是什么?涉及核心技术BIGANT
AI, Big Data | 2022-02-22
-
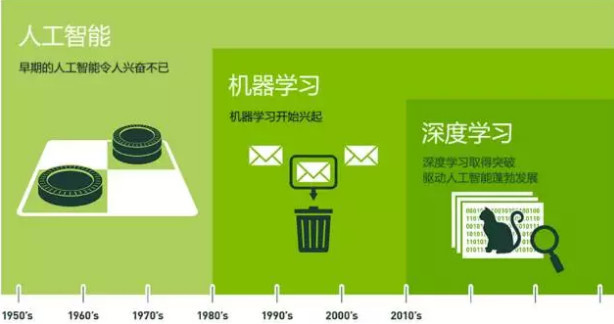
人工智能(Artificial Intelligence)、机器学习(Machine Learning)、深度学习(Deep Learning)三者区别
AI, Big Data | 2022-01-06
-
Redis 学习知识小记
DataBase | 2021-11-04
-

php面试常规问题主键索引和唯一索引有什么区别
DataBase | 2021-11-04
最新留言
-
世界末日我都挺过去了,看到楼主我才知道为什么上帝留我到现在!http://1r8.pistpyh.cn/
昵称:访客2024-07-04
-
这位作者的文笔极其出色,用词精准、贴切,能够形象地传达出他的思想和情感。http://oui.kblewwq.cn/
昵称:访客2024-07-04
-
坚持回帖!http://mqp.baishanct.com/
昵称:访客2024-07-04
-
在哪里跌倒,就在那里多爬一会儿!http://gx.baishanct.com/
昵称:访客2024-07-04
-
好东西,学习学习!http://mn7jf.xmona.com.cn/
昵称:访客2024-07-04
-
这么好的帖子,应该加精华!http://www.baishanct.com/
昵称:访客2024-07-04
-
昵称:微信用户2023-12-28
-

昵称:mm2023-12-12
-
昵称:微信用户2023-11-25
-
昵称:Tim2022-07-28
站点信息
- 文章总数:65
- 页面总数:1
- 分类总数:5
- 标签总数:12
- 评论总数:24
- 浏览总数:82970


